
The Photographer’s Guide to High-End Framed Prints on a Budget


How to frame small photos and art prints for gifts, sales, or your own home without the premium price tag.
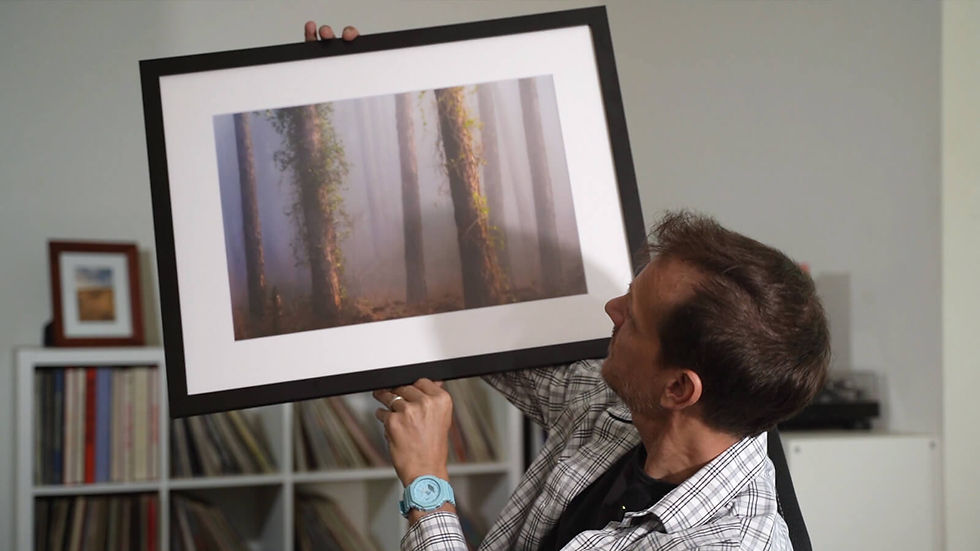
With the holidays coming up I thought this would be a great time to show you how I create these low cost, yet high-end framed art prints on a budget. Whether photography or any other artwork, these framed prints are excellent for sales at local art markets leading up to the holidays. They are also excellent gifts for friends, family and loved ones.
Let's break down the exact frames, mats, fine art papers and process to create these stunning little 8x10 works of art at home on my Epson ET-8550 printer. But you can use any printer and still keep your costs way down. You don't have to break the bank to print and create amazing art prints at home.
Some links below are affiliate links and I may earn a small commission if you use any. An easy way to support the channel for free! Thank you!
Step 1 finding the best Fine Art papers

I print two sizes to keep my workflow and art consistent. My small size is a 5x7 print in an 8x10 mat. This size works great for art markets with higher volume where you can have a less expensive item to support your larger works.
There are a couple other reasons I choose this size too. One it's closer to my 2x3 aspect ratio of my camera and secondly I am able to print two prints on one single sheet of 8.5x11 paper. This further reduces production costs of each print.

I print these on fine art papers from Red River Paper.
I have tested many papers on the Epson ET-8550 and Red River delivers the best I have found. Check out their full catalog or the the exact papers that I use below.
Best fine art paper for ET-8550
Best metallic paper for the ET-8550
1 box of 8.5x11 Aurora Art Natural 250 is currently $36. I print two prints per sheet making each print's paper cost 36 cents.
Paper cost per print = .36
Step 2 sourcing 8x10 frames and mats

For my frames I use these 8x10 frames with real wood and real glass fronts. They sell in 4 packs for around $25, but I regularly get them on sale for just under $20 making each frame less than $5. Full price would be $6.25 per frame which is still decent.
The included mats are decent and of ok quality. They work fine for these frames, but if you need mats for print sales I would suggest these:
They include the mat, a backing board and a bag and are not too expensive. A great way to up the quality of your smaller sale prints.

Total cost per frame & included mat is $4.82 each.
Step 3 printing your artwork

One of the biggest pains is ink costs, but that's why I love the ET-8550. You don't have to print every day, or even week. And when you do it doesnt cost an arm and a leg.
The average ink cost to print one 8.5x11 photo on the Epson ET-8550 is between .15 and .35 a sheet.
Let's say .25 for our case and we print two images per sheet so our ink costs is .13 per print.
Total ink cost is 13 cents per print.
Step 4 complete your framed art

My final matted and framed artwork cost ABOUT $5.31 each! Not too bad!
That leaves plenty of room for margin in your sales. If you regularly charge $20 for your prints you can siginifgantly upcharge that for an already matted and framed version. Many people will gladly pay for conveince.
These are also amazing as gifts, not too big, not too small and look really sharp. Great for an office, dresser, desk or small spaces in the home. So grab some supplies and get to work!
Larger ET-8550 Prints with 13x19 Mats & 18x24 Frames
These are the mats and frames I use to produce my larger 18x24 pieces.
If you would like to see my larger print process watch this:

Printers & Supplies:
Canon Selphy 4x6 Printer
Frequently Asked Questions:
What specific frame size and print size do you recommend for small art prints? I recommend printing a 5x7 image and mounting it inside an 8x10 mat and frame. This size is highly efficient for printing, fits standard frame sizes perfectly, and looks great displayed in small spaces like offices, desks, dressers, or gallery walls.
What type of paper gives the best "fine art" gallery look? I have extensively tested various options and found that Red River Paper delivers the best quality. Specifically, I use Aurora Art Natural 250 for a premium matte fine-art finish, and Polar Luster Metallic 255 if I want a print with striking metallic depth.
How much does it actually cost to make one of these framed prints at home? If you batch your process, each finished 8x10 framed piece costs about $5.31 to make. The breakdown per print includes roughly $0.36 for the paper, $0.13 for the ink, and $4.82 for a real wood/glass frame when bought on sale in a 4-pack.
How do you keep the printing and production costs so low? The secret is maximizing your materials. By printing two 5x7 images onto a single 8.5x11 sheet of paper, you cut your fine art paper costs exactly in half. Using a high-efficiency supertank printer also lowers your ink costs to just pennies per sheet.
Do I absolutely need the Epson ET-8550 printer to do this? Not at all! While I love the Epson ET-8550 because it keeps ink costs incredibly low without requiring daily printing, you can use any capable photo printer to replicate this process and still create amazing, budget-friendly art prints at home.
What extra supplies do I need to pack prints professionally for art markets? If you are preparing prints for a physical market or retail space, I highly recommend picking up an 8x10 Mat & Clear Bag combo pack. It includes the mat, a sturdy backing board, and a protective clear plastic sleeve to drastically elevate the perceived value of your un-framed sale prints.
Can I scale this exact same workflow up for larger prints? Yes! When I want to create large-format statement pieces, I scale up to printing 13x19 fine art prints and mount them using 18x24 mats paired with matching 18x24 solid wood frames.
What specialized tools make the framing process easier? To get a pristine, professional finish every time, I highly recommend using a quality paper cutter and a large cutting mat for perfect edges, acid-free framing tape to secure the art safely without damaging it over time, and a silicon air dust blower to clean the glass entirely before sealing the frame.
Thanks for reading and I hope you make some amazing prints of your work! Happy printing!
-Paul
All images and words by Paul Farace Photography
Paul Farace is an award winning Florida based landscape photographer and author with 20 years of experience, specializing in capturing the state's coastlines and waterways. Operating out of St. Augustine, he shares his expertise through fine art prints, adventure videos, educational workshops, and digital content. Explore his work and bio details at Paul Farace Photography.
---------------------------------------
My Stuff
My Website: https://www.paulfaracephotography.com/
100+ Ideas for Landscape Photographers Book: https://amzn.to/4cinISm
How to Extreme Focus Stack Ebook: https://amzn.to/48wEgon
North East Florida Guide: https://www.paulfaracephotography.com/florida-photo-guide
Marineland Seascape 1on1 Guide: https://www.paulfaracephotography.com/marineland
My Gear
My cameras: https://amzn.to/4vgrOTL
My wide angle lens: https://amzn.to/3QfoRTf
My mid range lens: https://amzn.to/4sV4U2y
My telephoto lens: https://amzn.to/48bU687
My drone: https://amzn.to/3PVgdt7
My action cam: https://amzn.to/4t2Knck
My microphones: https://amzn.to/4dE4n0a
My ND filter: https://amzn.to/4c2cLWe
My circular polarizer: https://amzn.to/41XllQ0

Comments